The Best Way To Light Artwork
A happy 2019 to you all! For my first blog of the year I’ve decided to cover a question that I’ve been asked a few times recently – how can we light our artwork? For the purposes of this blog I’m going to deal just with artwork mounted on walls, such as paintings, photographs, prints, tapestries, hangings, etc. rather than also covering sculpture and other objets d’art.
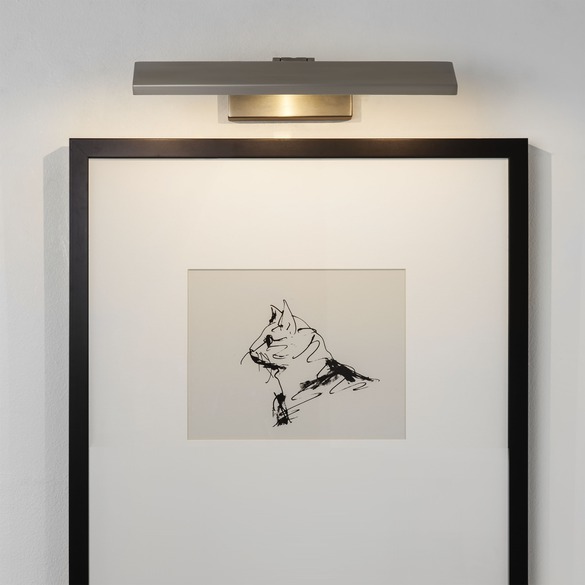
The most obvious solution is to use specifically designed picture lights. These can either fix to the wall above or behind the artwork or some designs fix to the back of the artwork itself (which may not be suitable if the artwork is of any great value!). Maybe it’s because I am in lighting, but I find that I am always drawn towards looking at the picture lights rather than the artwork that they are lighting! For this reason, I tend not to use them as I find them a distraction! I find that they often light only a central strip rather than the whole artwork anyway. This means it’s really hard to find a picture light that adequately lights large pieces of artwork, and particularly those that are wide. Here’s an example of a picture light of the correct proportions for the artwork it is lighting – it’s the Vermeer 300 LED 7601 from Astro Lighting Ltd:
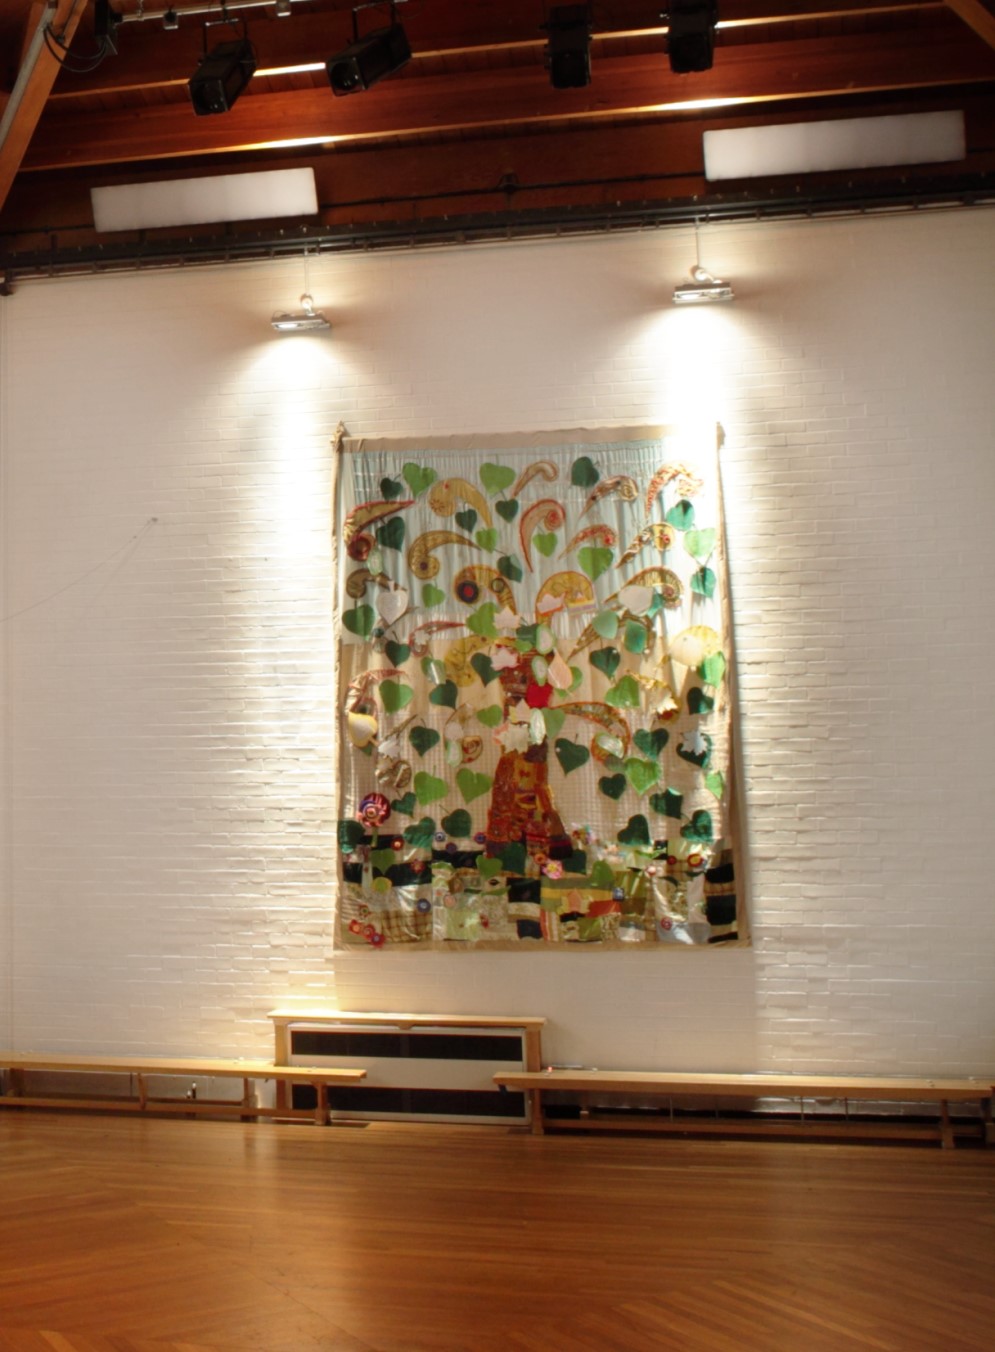
Some prefer to use adjustable surface mounted spotlights instead of wall lights as they look more contemporary than a lot of picture lights. If an artwork is large, then multiple head units or long-armed ones can be used to give the right sized wash of light to the artwork. In the following example, the large wall hanging in the school hall is lit be two double adjustable spotlights fixed above on the wall. They could get a more even coverage by tilting all four spotlights towards the artwork but in this case, they have used two to up light towards the ceiling and two to down light towards the hanging:
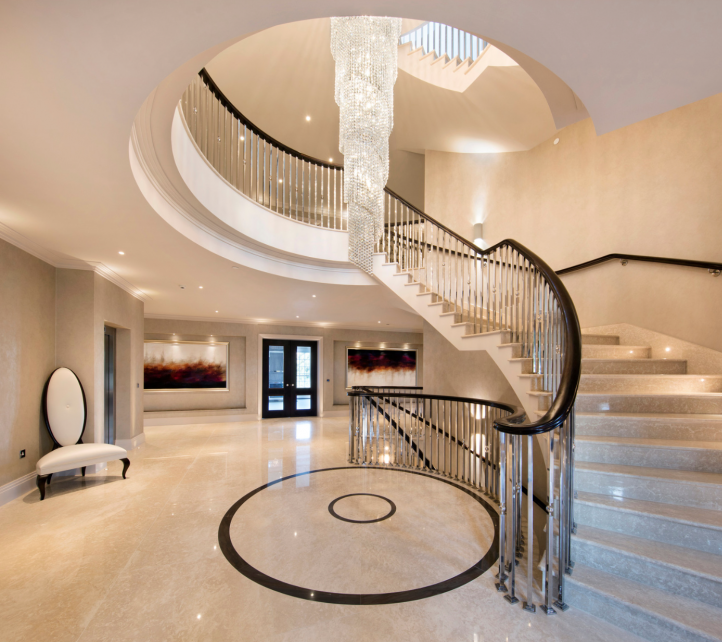
My favourite method is to use carefully placed adjustable ceiling downlights. These can be tilted towards the artwork without drawing attention to themselves. Some are even designed to tilt internally so that nothing pokes out below the ceiling line to obstruct your viewing pleasure. If you are going to be changing your artwork from time to time it makes sense to add enough downlights to accommodate artwork of differing dimensions. If you pick the right design of downlight they can be turned towards artworks as well as tilted so that they still light things that aren’t placed directly in front of them. They can be used in this way so that larger pieces can be lit by more than one downlight. In the following example, the wide artworks are enhanced by being set back in niches as well as being lit by multiple downlights:
The best way to get very flexible artwork lighting is to use a lighting track. Many art galleries and museums use tracks for this reason. Tracks allow for lights to be spread out or concentrated together depending on what is being lit. I have used lighting track on a landing to display an ever-changing collection of space flight related photographs and in a central hallway to highlight a regularly moved around manga painting collection, to name just a couple of instances.
These are just a few of my ideas on how to light artwork. If you’d like to discuss others, I’m on (01525) 382682. Please pass the link to this blog on to anyone you know who needs help with their artwork lighting.
Sign up for our regular Free Newsletter